Proxmox change boot raid nvme device
On this page 1 section
Proxmox zpool of boot drives
Changing the SSD because of wearout.
We need to create the same UEFI boot partitions for the system to be able to boot from either of the drives, Otherwise the drive will not be a bootable device and will only have the 'other' proxmox data. Technically we are only putting the 'data' partition in raid. the EUFI partition is not. We rely on the proxmox tool to keep the EUFI partition in sync for us.
-
Change out one of the physical drives.
-
Find the device ID for the new drive you have entered, can be veified with these 2 commands. Use Remove Partition to remove existing partitions on the new drive, if needed.
lsblk #shows the actively connected block devices ls -l /dev/disk/by-id #Shows all system links, by name. ``` -
You should be able to use the 2 to find the new device, likely nvme#n# with the # representing an incrementing number. You also need to find the ID of the current existing drive.
We need to copy the partition layout from the existing device to the new one, nvme0n1 is the old device and vnme1n1 is the new. Replace them with your disk IDs.
sgdisk info found here: https://linux.die.net/man/8/sgdisk
sgdisk /dev/nvme0n1 -R /dev/nvme1n1 -G -
Now we setup the UEFI bootloader. Again replace the drive ID with your ID. The p# on the end is choosing the partition to use. Make sure you pick the correct one.
More info on exactly what this does here. https://pve.proxmox.com/wiki/Host_Bootloader
The status command should show you the new EFI partition and the old one should no longer be found, The clean function should remove it.
pve-efiboot-tool format /dev/nvme1n1p2 --force pve-efiboot-tool init /dev/nvme1n1p2 pve-efiboot-tool status pve-efiboot-tool clean pve-efiboot-tool status -
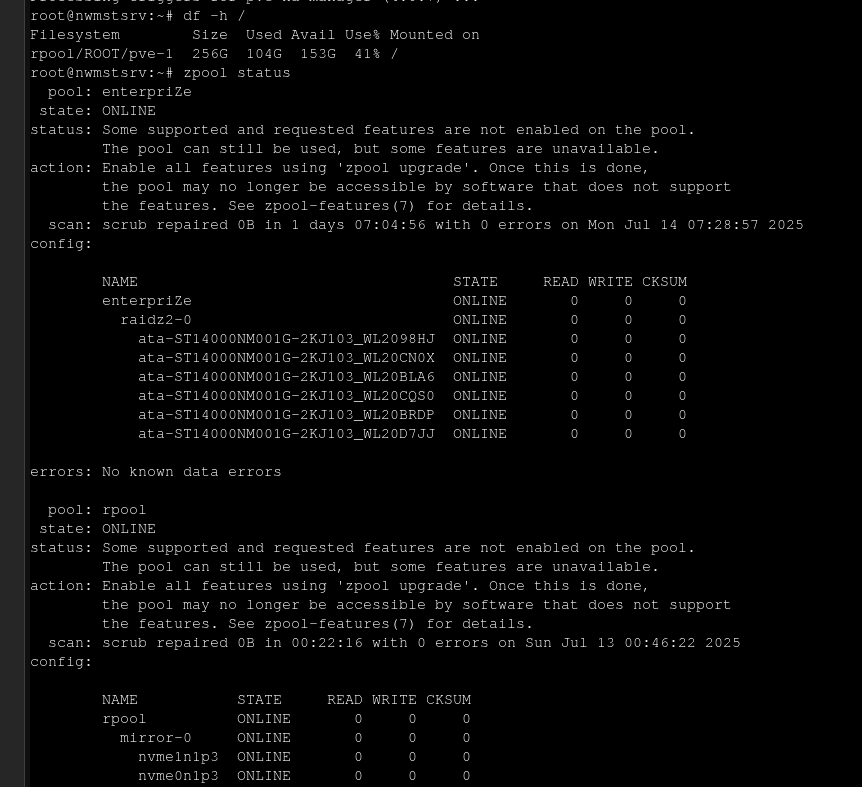
Next we get the status of the existing ZFS pool. rpool is the name of your pool
zpool status rpool -
This should show you which of the device is unavailable. We need to set it to offline, replace the drive with your ID
zpool offline rpool nvme-eui.6479a7304169387a-part3 -
Now we need to replace the drive with our new one. This will start resilvering automatically, use the ID of your respective disks. nvmep3, replace with the p3 with the number of the partition that is relevant to you, most likely it is 3.
zpool replace rpool nvme-eui.6479a7304169387a-part3 nvme1n1p3 -
Check the status of your pool, it should be resilvering.
zpool status rpool -
When it is finished the offline drive should not be in the status list anymore and the status of the pool should return to 'ONLINE'.
-
You can use the watch command like this to get constant updates of the process
watch -n 1 'zpool status rpool'